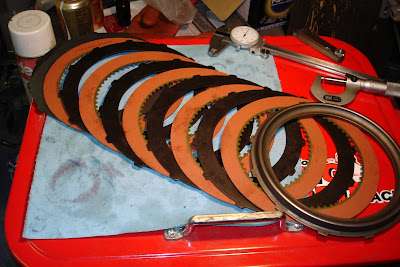
Here's the original clutch pack. It had 4 frictions and three steels. There was some wear, but not horrible.

I upgraded to a pack with 5 frictions and 4 steels. The fifth "steel" is a thinner reaction plate. The thicker plate with the ridge is the pressure plate. This new combo gives me 25% more apply area then OEM.
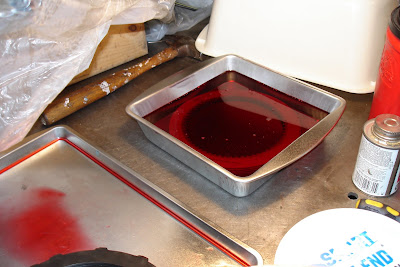
Soak the frictions in some fresh ATF. 30 minutes is recommended. So stick these in the ATF before you start with the rebuild process.
Now start with the input and piston retainer. First, install the 3 new seals on the input shaft. One is a snap finger-joint style steel seal. The other 2 are tapered joint teflon type seals.
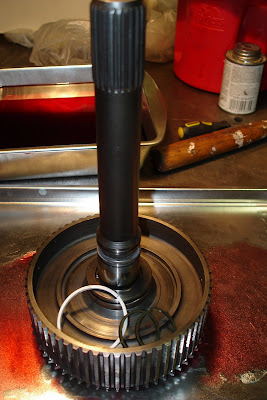
Spread some assembly lube in the grooves to help hold the seals in for assembly.

To get the finger joints to catch you have to hold one end all the way in the groove with your thumb, then, with your finger, follow the seal around the shaft so that the other end snaps into place. Good luck helps.

Here's all three seals installed. Alternate the ends of the 2 upper seals by 180*.

Now install new seals on the inner and outer diameter of the piston.

Use some assembly lube and make sure the lip faces forward, or toward the input shaft, or toward the front of the transmission.

Lube up the bores of the piston retainer with some assembly lube. I then used a .010" feeler gauge to help ease the seal lips into the piston bore. Easy does it. You don't want to cut a seal or fold over the lip here!

Bottom the piston in the bottom of the bore.
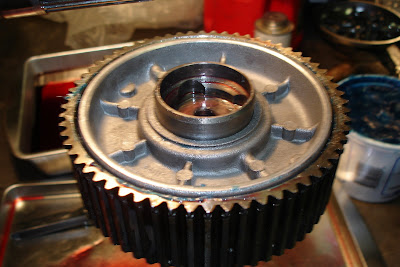
Now the clutch retainer goes over the piston retainer in this orientation.

I set the clutch retainer over the open jaws of my vice then just slid the input shaft/clutch retainer assembly into it. The clutch retainer points toward the rear of the transmission.

Now install the clutch spring, spacer ring, and wave spring, in that order.

Slide the clutch spring into the bottom of the clutch retainer. Make sure the inner diameter of the spring points down, or toward the front of the transmission.

Then put the spacer ring in. It's a plastic part.

Now install the wave snap ring which holds all these pieces together.

Now slide the pressure plate into the clutch retainer. The ridge rests against the clutch spring.

Flip the pressure plate over, slide it in, and it looks like this.

My upgraded clutch pack came with with 4 steels and 1 selective steel for adjusting clutch pack clearance.
The thin steels are. .068".

The selective steels are .085". I ended up using this steel as one of the steels for proper clearance.

Now take a friction from the ATF and place it on top of the pressure plate.

Now place a steel on top of the friction. Alternate friction, steel, friction, etc. until you have the last friction on top.
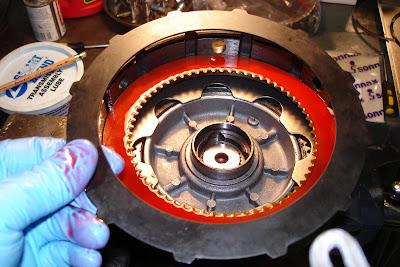
Now take the reaction plate (the upgrade I got came with a thinner reaction plate) and place it on top of the last friction.

It should look about like this...

Now install the wave snap ring in its groove at the top of the clutch retainer.

Here it is installed.

Now take the measurement between the top of the reaction plate and the underside of the wave ring. Make sure you measure to an "upper" portion of the wave ring...in other words, where you would naturally find a space. The manual states a clearance of .025-.045". "A low limit clearance is preferred." Since I upgraded to more components in my clutch, I opted for slightly more clearance in order to supply sufficient lube between the pieces. My final clearance was .050". That's two .025" feeler gauges in the gap.

Next: rebuilding the front clutch.