I opted for a heavier duty front band. It has Kevlar lining and it's also wider by a good bit...more holding power coupled with the higher ratio servo lever I installed along with a better servo.
Here they are side-by-side.

You can see that the original front band was definitely on its way out. You can see the cracking and flaking in this photo.

Soak the front band in some fresh ATF. It's big. So I had to work my way around letting it soak about 5 minutes in each position.

Here's a pic of the front band anchor and strut. The new strut is in the middle. The OEM strut is on the right. I opted for a thicker one. Just seemed stronger and a better idea. There's another step up from this. It was a billet strut. I didn't think I needed quite that much bling.

Now take the new front band and slide it over the front clutch retainer from the front side. The ears that interface with the strut and anchor go up (towards the pan and valve body). The front band slides in real easy.

Here's the front band in place looking down from the pan opening. Notice that this new wider band covers the entire surface of the clutch retainer and drum. Notice the band adjusting screw, on the right side in the case just next to the band, is adjusted all the way out.

Now place the new strut between the servo lever and the front band ear.

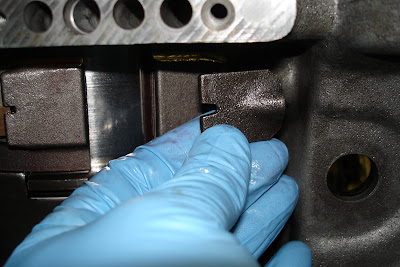
Place the front band anchor between the ear and the adjusting screw. Run the adjusting screw in to hold everything in place.

Here it is, all in place. Make sure to tighten the adjusting screw so that the band holds everything in place for now. You don't want those front and rear clutch assemblies to come out! Remember how hard those were to get in?

Next: Rebuilding the pump.